
Why is soil important?
5 Minute Read
We're digging a little deeper to advise on how to get the best out of your soil so that you can grow happy and healthy plants year after year!Whether you are growing veg in your kitchen garden or creating your dream flower beds, one of the most important components when it comes to planting and growing, that's right, is soil. It's packed full of nutrients and minerals that nurture plants and provides everything they need to grow and survive in the world.
What are the different soil types?
To start off, it's worth having an idea of your soil type - this is where you start when it comes to planting, spend some time getting to know your soil a little bit more. There are six main soil types and each have their own benefits and drawbacks for certain plants:
- Clay: heavy and high in nutrients, clay soil does not drain well and also takes longer to heat up in the warmer months.
- Sand: tends to be quite acidic and low in nutrients but has quick drainage and is easy to work.
- Silt: highly water-retentive and fertile and can be easily compacted.
- Loam: Loam soil is a healthy mix of sand, silt and clay and has the ideal balance of texture and components for plant growth.
- Peat: is high in organic material and moisture making it very fertile.
- Chalk: Usually stony and can be poor in nutrients but quick to warm up in spring, this soil is very alkaline.
How do I test my soil?
There are plenty of soil testers on the market, these pH test kits can give you a result in minutes and will give you a determined soil type based on your pH levels.Alternatively, there are ways of testing the soil structure without a pH kit, thanks to the advice from Melcourt's Technical Director, Catherine Dawson, we explain how you can do this at home within a few hours.
• Take some soil and fill around a third of a jam jar
• Next, fill with water and a teaspoon of washing up liquid and replace the lid (allow enough room for air when shaking up the contents)
• Shake up the contents of your glass to get it in suspension; around 2-3 minutes.
• Allow the mixture to settle for a few hours then you will start to see the different layers forming within the jar.
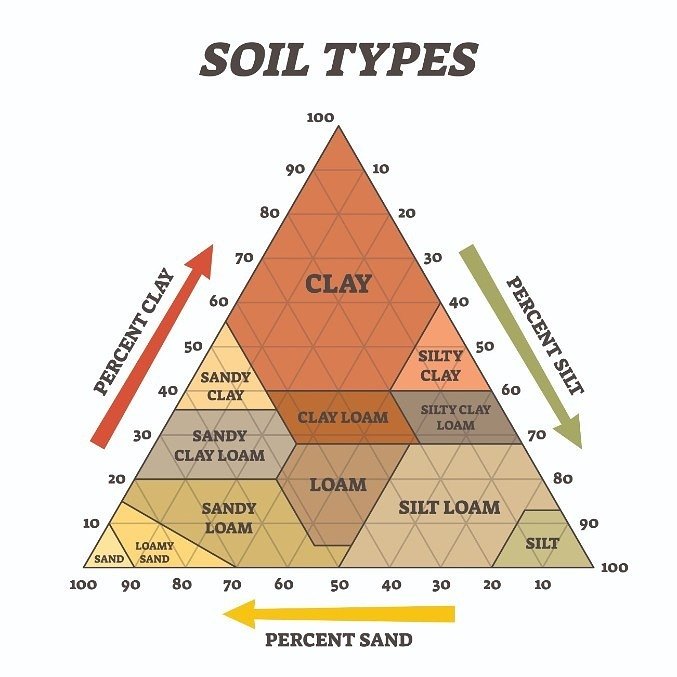
The bottom layer will contain heavier stones and particles, the next is your silt level, then the clay particles and finally any residual organic matter.
Depending on your soil structure, the results will give you an idea of what type of soil you have based on the colour of the water and the residual leftovers at the top and bottom of the jar. Once the jar has settled, calculate the percentages based on the size of each individual layer, the ideal combination is 40% sand, 40% silt, and only 20% clay - also known as loamy soil.
This online calculator from LandIS (Land Information System) is helpful for calculating your soil structure.
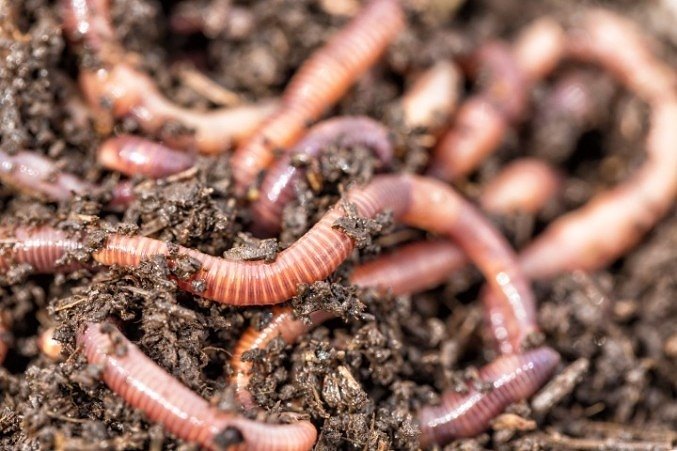
Another great way of monitoring the nutrients in your soil structure is to look for the presence of worms and or their burrows, typically if the soil is low in nutrients you'll find little to no evidence of worms as there won't be any organic matter for them to feed on.
How can I improve my soil?
Following a few simple steps, there are ways you can improve your soil.Step one: Get digging
Thoroughly dig your soil with a spade to break up large clumps and to break up compaction - this is an important step in getting the soil structure ready for step 2.
Step two: Organic Matter
The next step is to add a decent layer of organic matter to your soil, such as manure or a soil improver. This will get to work by adding beneficial bacteria and nutrients to your soil which will improve the soil structure over time.
Step three: Dig again
To thoroughly work your improver or manure into the soil, dig the soil again to incorporate the new material. If using Melcourt Soil Improver, aim to incorporate a depth of not less than 50mm, then thoroughly incorporate into at least the top 150mm of soil.
Step four: Rake it over
Once you have thoroughly dug your soil, pat it down with the spade and then finely rake the top layer to remove any debris and weeds. If you have a compost bin or heap, you could also add a layer of this garden gold and work in to help with conditioning.
Aftercare
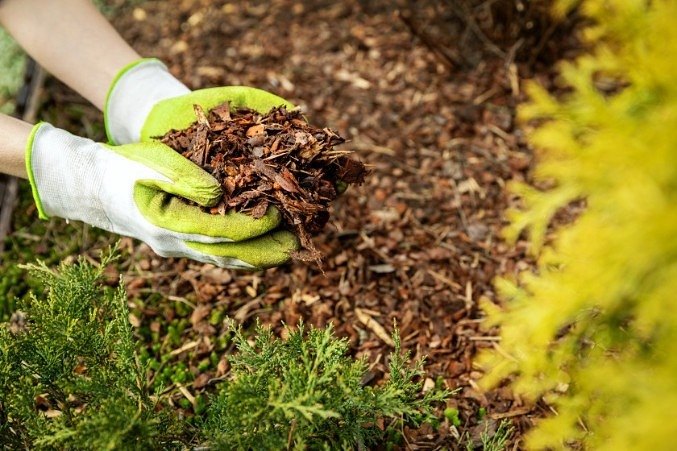
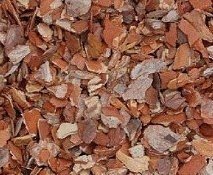
Regularly mulch your soil, by adding a top layer of bark or straw mulch you are continuing to add organic matter to the structure which will help to improve it over time as it decomposes.
When and how to use fertilisers
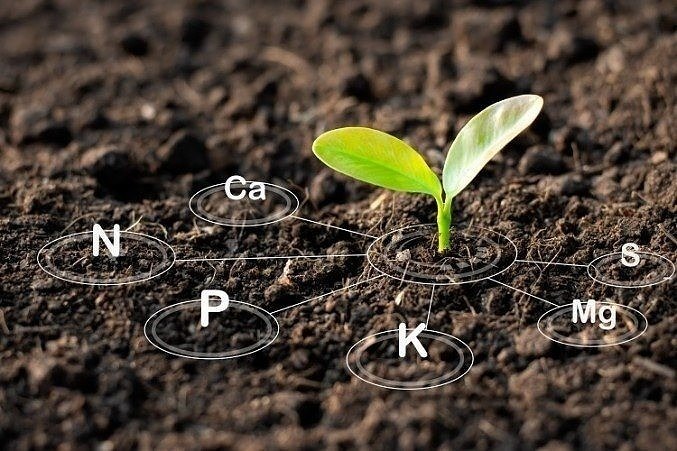
While organic materials like soil improvers, compost and manure are incorporated to improve the overall structure, moisture and nutrient holding capacity, fertilisers are used to deliver essential nutrients to plants that need extra feeding so they have all of the nutrients they need to grow and thrive.The key ingredients in fertilisers are nitrogen, phosphorus and potassium also known as NPK.
Nitrogen: helps to support healthy leaf growth.
Phosphorus: stimulates root development and helps plants to convert energy to assist with photosynthesis.
Potassium: also known as potash, supports fruit and flower production and helps plants fight disease. disease.
Depending on the fertiliser you choose, the delivery and application timing methods vary from product to product, for more information on fertilisers and the different options available, click here.
What are the benefits of mulching?
Mulching is a method of adding a layer of material to the top layer of soil to help with moisture retention, temperature regulation and weed suppression. Here is a past article we've written about mulch to cover more of the types of mulches available.
When is the best time to apply mulch?
Spring:Mulching is usually done in spring as the soil is still moist but starting to warm up.
Autumn:
Mulching is usually done in autumn as the soil is moist and warm and plants are starting to die back.
Avoid applying mulch to dry, waterlogged or frozen ground and make sure to remove any weeds before applying.
We hope this guide has answered your questions about soil and you now have the information to go forth and grow healthy, happy plants. If you need further advice or assistance our team of expert gardeners are more than happy to help.
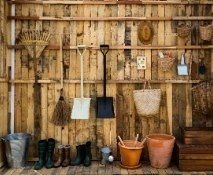
Tools for the job

Tags: compost, Soil health, Soil improvers
Comments (0)
Why not be the first to send us your thoughts?
Leave A Comment
Most popular articles
1
Plastic plant pots dimensions and uses2
Peat vs Peat Free - Choosing the right Potting Compost3
How to Grow Watercress at home in plant pots4
January Jobs5
March JobsSpring gardening hubProduct informationSustainable growingWhat to grow whereNatural pest controlsSeasonal jobsBug of the monthAdvicePests & diseasesGrowing
Follow us
